diamond ring royal icing engagement cookies
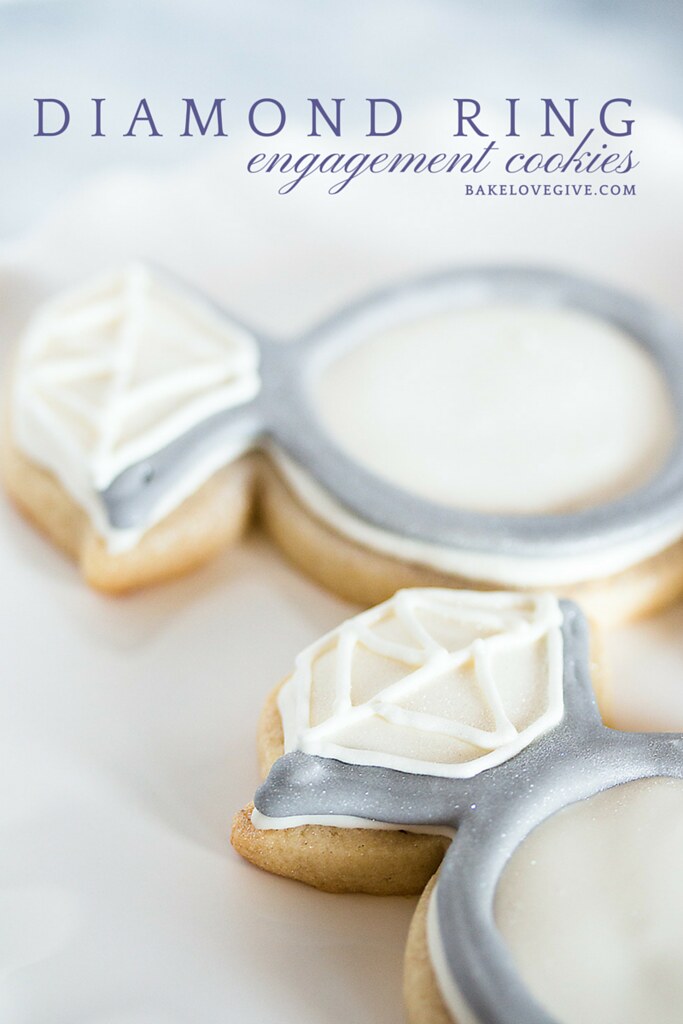
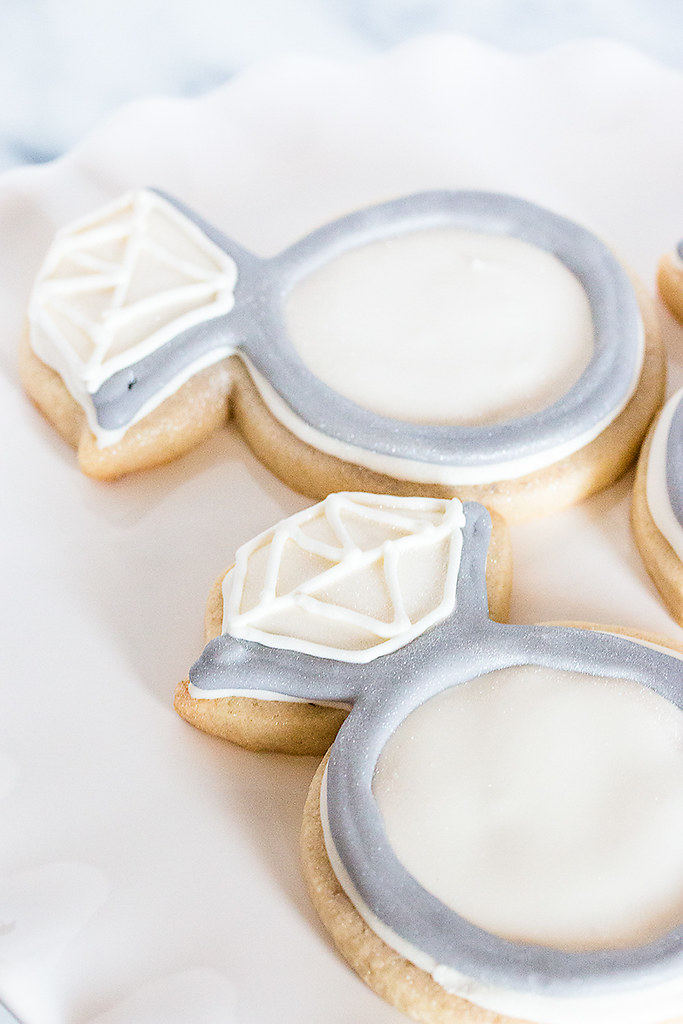
These diamond ring royal icing engagement cookies are the perfect way to celebrate a couple’s upcoming nuptials. Decorating these cookies may be a small labor of love, but the shimmering result is sure to make any bride feel special.
To go along with the Elegant Bridal Shower Cupcakes that I baked last month, the sister of the bride also requested engagement ring cookies. I’m by no means an expert at decorating sugar cookies with royal icing, but these diamond ring cookies turned out pretty darn cute! The engagement ring design was fairly easy to pipe and unbelievably forgiving thanks to a generous dusting of iridescent luster dust.
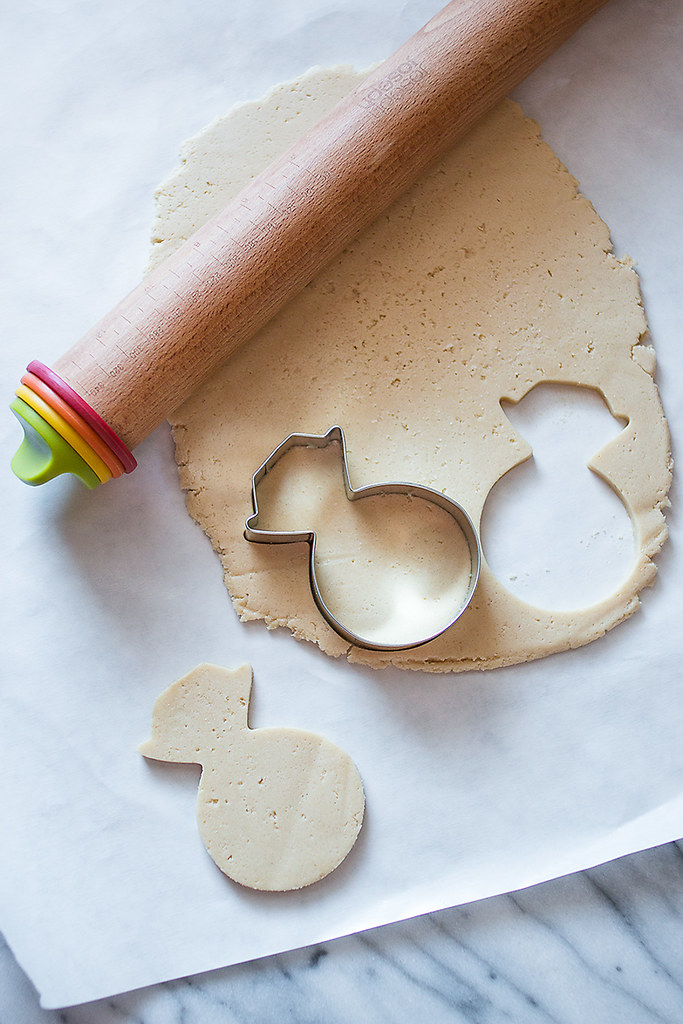
I set my beloved Joseph Joseph adjustable rolling pin to 1/4-inch to ensure consistent cookies and even baking. Mom and I got a good laugh out of hunting for the cookie cutter at our local bakeshop. We passed over it several times thinking it was a pineapple. When in doubt, Amazon’s always got your back. I’ll also save you the trouble and tell you that you won’t find grey food coloring. Let’s pretend I don’t know this from experience and just remind ourselves that a few drops of black mixed with white makes grey.
I don’t always use white food coloring when decorating with royal icing, but I adore the pop that the Bright White Americolor Gel gives to these diamond rings. I had seen cookies on Pinterest that both filled in the entire cookie with royal icing and that left the center bare. I liked the contrast of having the entire cookie filled and am smitten with the final result.
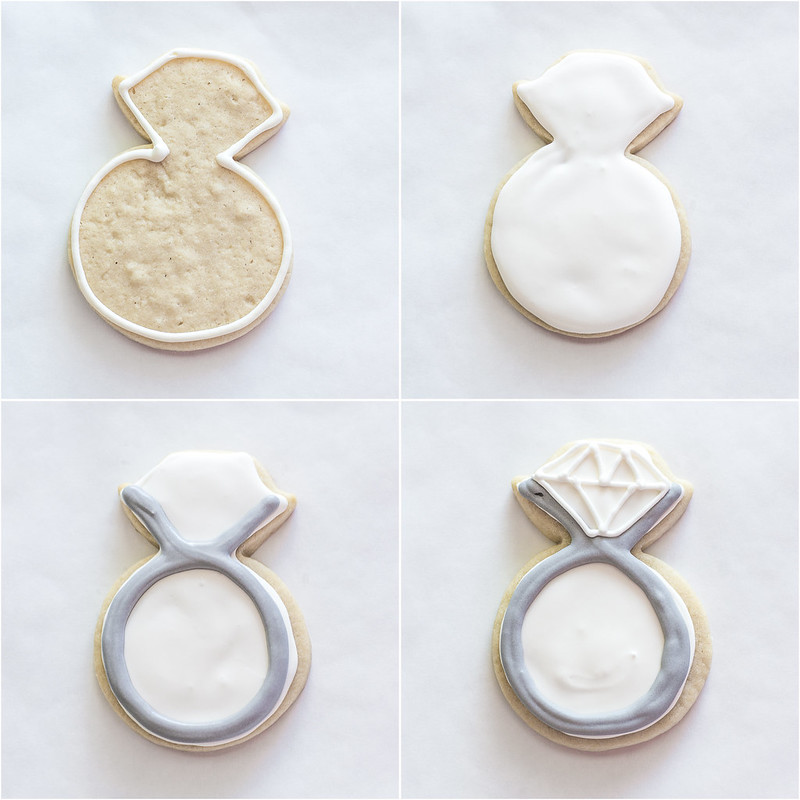
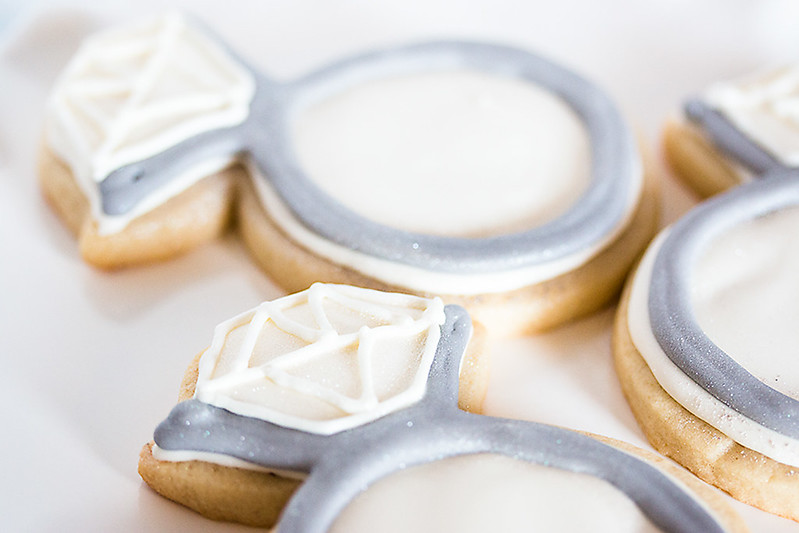
To decorate, I outlined each cookie in white with a #2 Wilton decorating tip and then flooded with white using a #5 tip. I allowed the cookies to set for 24 hours before piping the grey band using the #5 tip. After letting the band set for an hour, I piped the final details of the diamond in white, once again using the #2 tip. After the cookies set for another 24 hours I generously brushed each diamond and band with iridescent luster dust.
After confirming that the cookies were completely set, I dropped each into a cellophane treat bag finished with a satin ribbon in the bride’s colors. They were far from perfect, but they were baked with love and that’s all that counts. It was an absolute pleasure baking for the bride and was so fun to hear her friends rave about these cookies weeks later at her sister’s baby shower! Did I mention we had a lot to celebrate this summer? Stay tuned, we’ve got four fun baby shower recipes headed your way!
- 3¼ cups all-purpose flour
- 1½ teaspoon baking powder
- ½ teaspoon salt
- 1¼ cups (2½ sticks) unsalted butter, softened
- 1 cup granulated sugar
- 1 large egg
- 1 tablespoon milk
- 2½ teaspoons pure vanilla extract
- 2 pounds (one bag) confectioners' sugar
- 5 tablespoons meringue powder
- 3 teaspoons almond extract
- ¾ cup warm water
- Gel paste food coloring
- In a medium bowl, whisk together flour, baking powder, and salt. Set aside.
- In the bowl of an electric mixer fitted with the paddle attachment, cream together butter and sugar until light and fluffy.
- Add egg, milk, and vanilla extract and beat until smooth. Gradually mix in flour mixture until fully incorporated and a soft dough is formed.
- Wrap dough in plastic wrap and refrigerate for at least 30 minutes and up to a few days.
- When ready to bake, preheat oven to 375 degrees Fahrenheit. Line cookie sheets with parchment paper or silicone baking mats.
- Break off manageable pieces of dough and roll between two sheets of wax paper to ¼-inch thick. Peel back top layer of wax paper, gently replace, and flip over. Remove bottom layer of wax paper (now top) and cut dough into desired shapes.
- Refrigerate pans of cut out cookies for 15 minutes prior to baking to prevent spreading.
- Transfer cut outs to prepared baking sheets and bake at 375 degrees Fahrenheit for 8-9 minutes until edges are lightly browned.
- Cool on sheet for 5 minutes before transferring to cooling rack to cool completely before packaging or decorating.
- Place confectioners' sugar and meringue powder in the bowl of a stand mixer fitted with the paddle attachment.
- Mix on lowest setting for a few seconds to combine.
- Mix almond extract with water and slowly pour into confectioners' sugar while mixing on low speed.
- Once all water is added, increase speed to high and mix for 2-4 minutes until light, fluffy, and soft peaks form. Store in an airtight container at room temperature in this stage until ready to use.
- Mix small batches of royal icing with gel paste food coloring until desired color is reached.
- Once desired color is reached, gradually add warm water to icing, stirring constantly until desired consistency is reached. A dropper or spray bottle is best for adding water a little at a time because a little goes a long way.
- For outlining and detail work, I look for a consistency about the same as toothpaste. For flooding, the consistency should be similar to shampoo. The grey for these bands was somewhere in the middle.
- Transfer to piping bags fitted with decorating tips to decorate cookies.
GADGETS
Joseph Joseph Adjustable Wood Rolling Pin
Diamond Ring Cookie Cutter
Wilton Decorating Tip Set
RESOURCES
Wilton Meringue Powder
Americolor Gel Paste Food Color, Bright White
Americolor Gel Paste Food Color, Super Black
Wilton Elegant Shimmer Dust






Will these cookies stay fresh if frozen for 3-4 weeks? Or should I make them within a couple of days of the party? Your cookies are very pretty!
Hi Debbie – thanks for your sweet words! You can absolutely freeze the cookies. Here’s a great article that I have used as reference in the past to help you out. :) http://bakeat350.blogspot.com/2012/05/yes-you-can-freeze-decorated.html
Hi – how many days in advance can you make these cookies? Party is Saturday – can I make the dough tonight? Thanks!
This is just beautiful and would make any bride smile! :) I love decorative cookies!
Love these. So pretty, and they look simple enough that even I may be able to make them! :o) BTW, nice to see another Texas blogger here!
Absolute perfection! The shimmer dust is a nice touch. More things need to be finished with shimmer dust.
These are so creative! And the decorating looks easy enough that I could even do it :D
Wow, these look so creative and original!! Perfect for wedding season! I bet they were delicious too! Pinning!
Wish I would have seen these earlier. I don’t know if I can get it together enough to make these for my daughters wedding bridal party on Sunday. They are lovely!
These cookies look deliciously gorgeous!
These are SO cute! I’m such a sucker for decorative cookies – I just love everything about them